
“Dinner is better when we eat together”
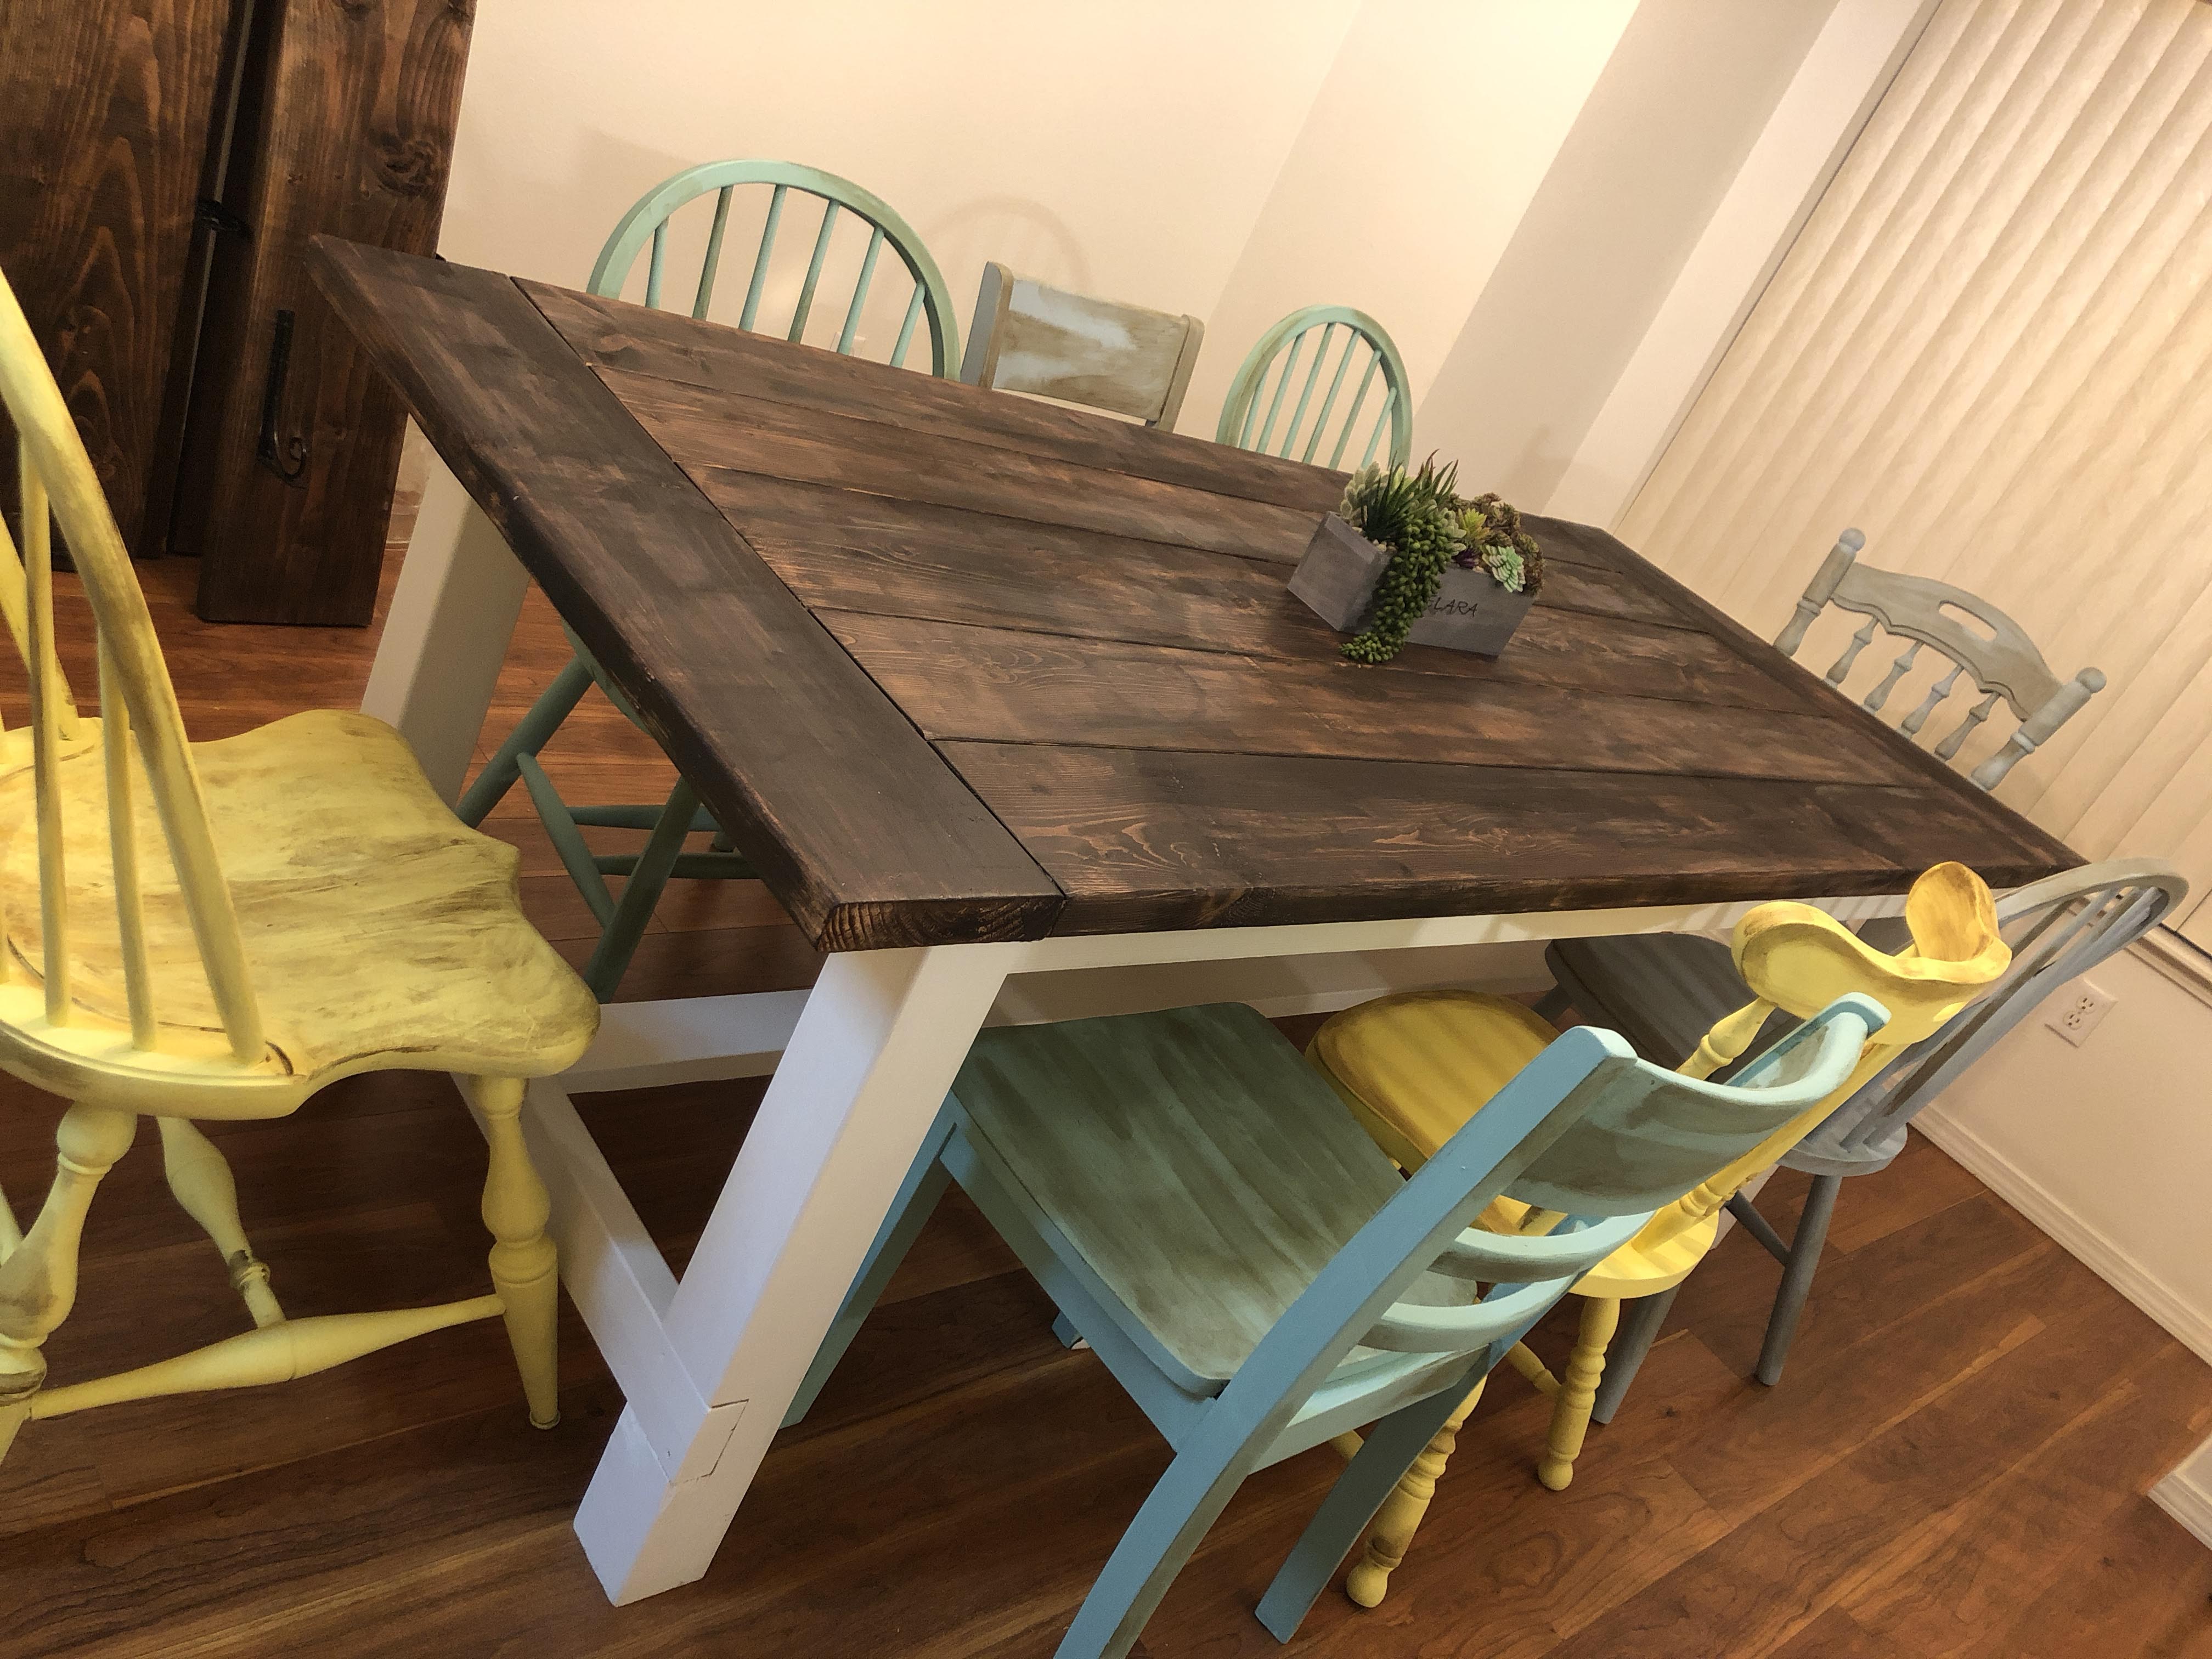
I couldn’t agree more. Our dining room is the heart of our home. For us, so many aspects of our lives happen around our dining table aside from dinner! Like, blowing out birthday candles, lecturing the kids, homework, craft nights, planner parties with the girls, poker nights with the boys, and so much more. Our old dining table was bought at Baileys for nearly $800.00; it was a dark, wooden table with leather chairs and one bench, just right for a family of six. When we first bought it, it fit our family of seven perfectly. We had assigned seating to avoid arguments and put our youngest and smallest three on the bench. Then, things started feeling a little crowded over the years. We heard the “scoot over, your elbow is touching me” and my personal favorite, “spot check” because no one ever wanted to sit in the middle. So when we moved into a new place, the dining room was my main focus and I wanted a table that could accommodate a bigger family. We headed over to Baileys and… just NO! Their biggest tables cost well-over $1,000 dollars and really, if you ask me, they are nothing spectacular. Affordable, good quality furniture is extremely hard to find in Alaska and I was super sad because Thanksgiving was right around the corner and it was important to me to have something we can eat on.
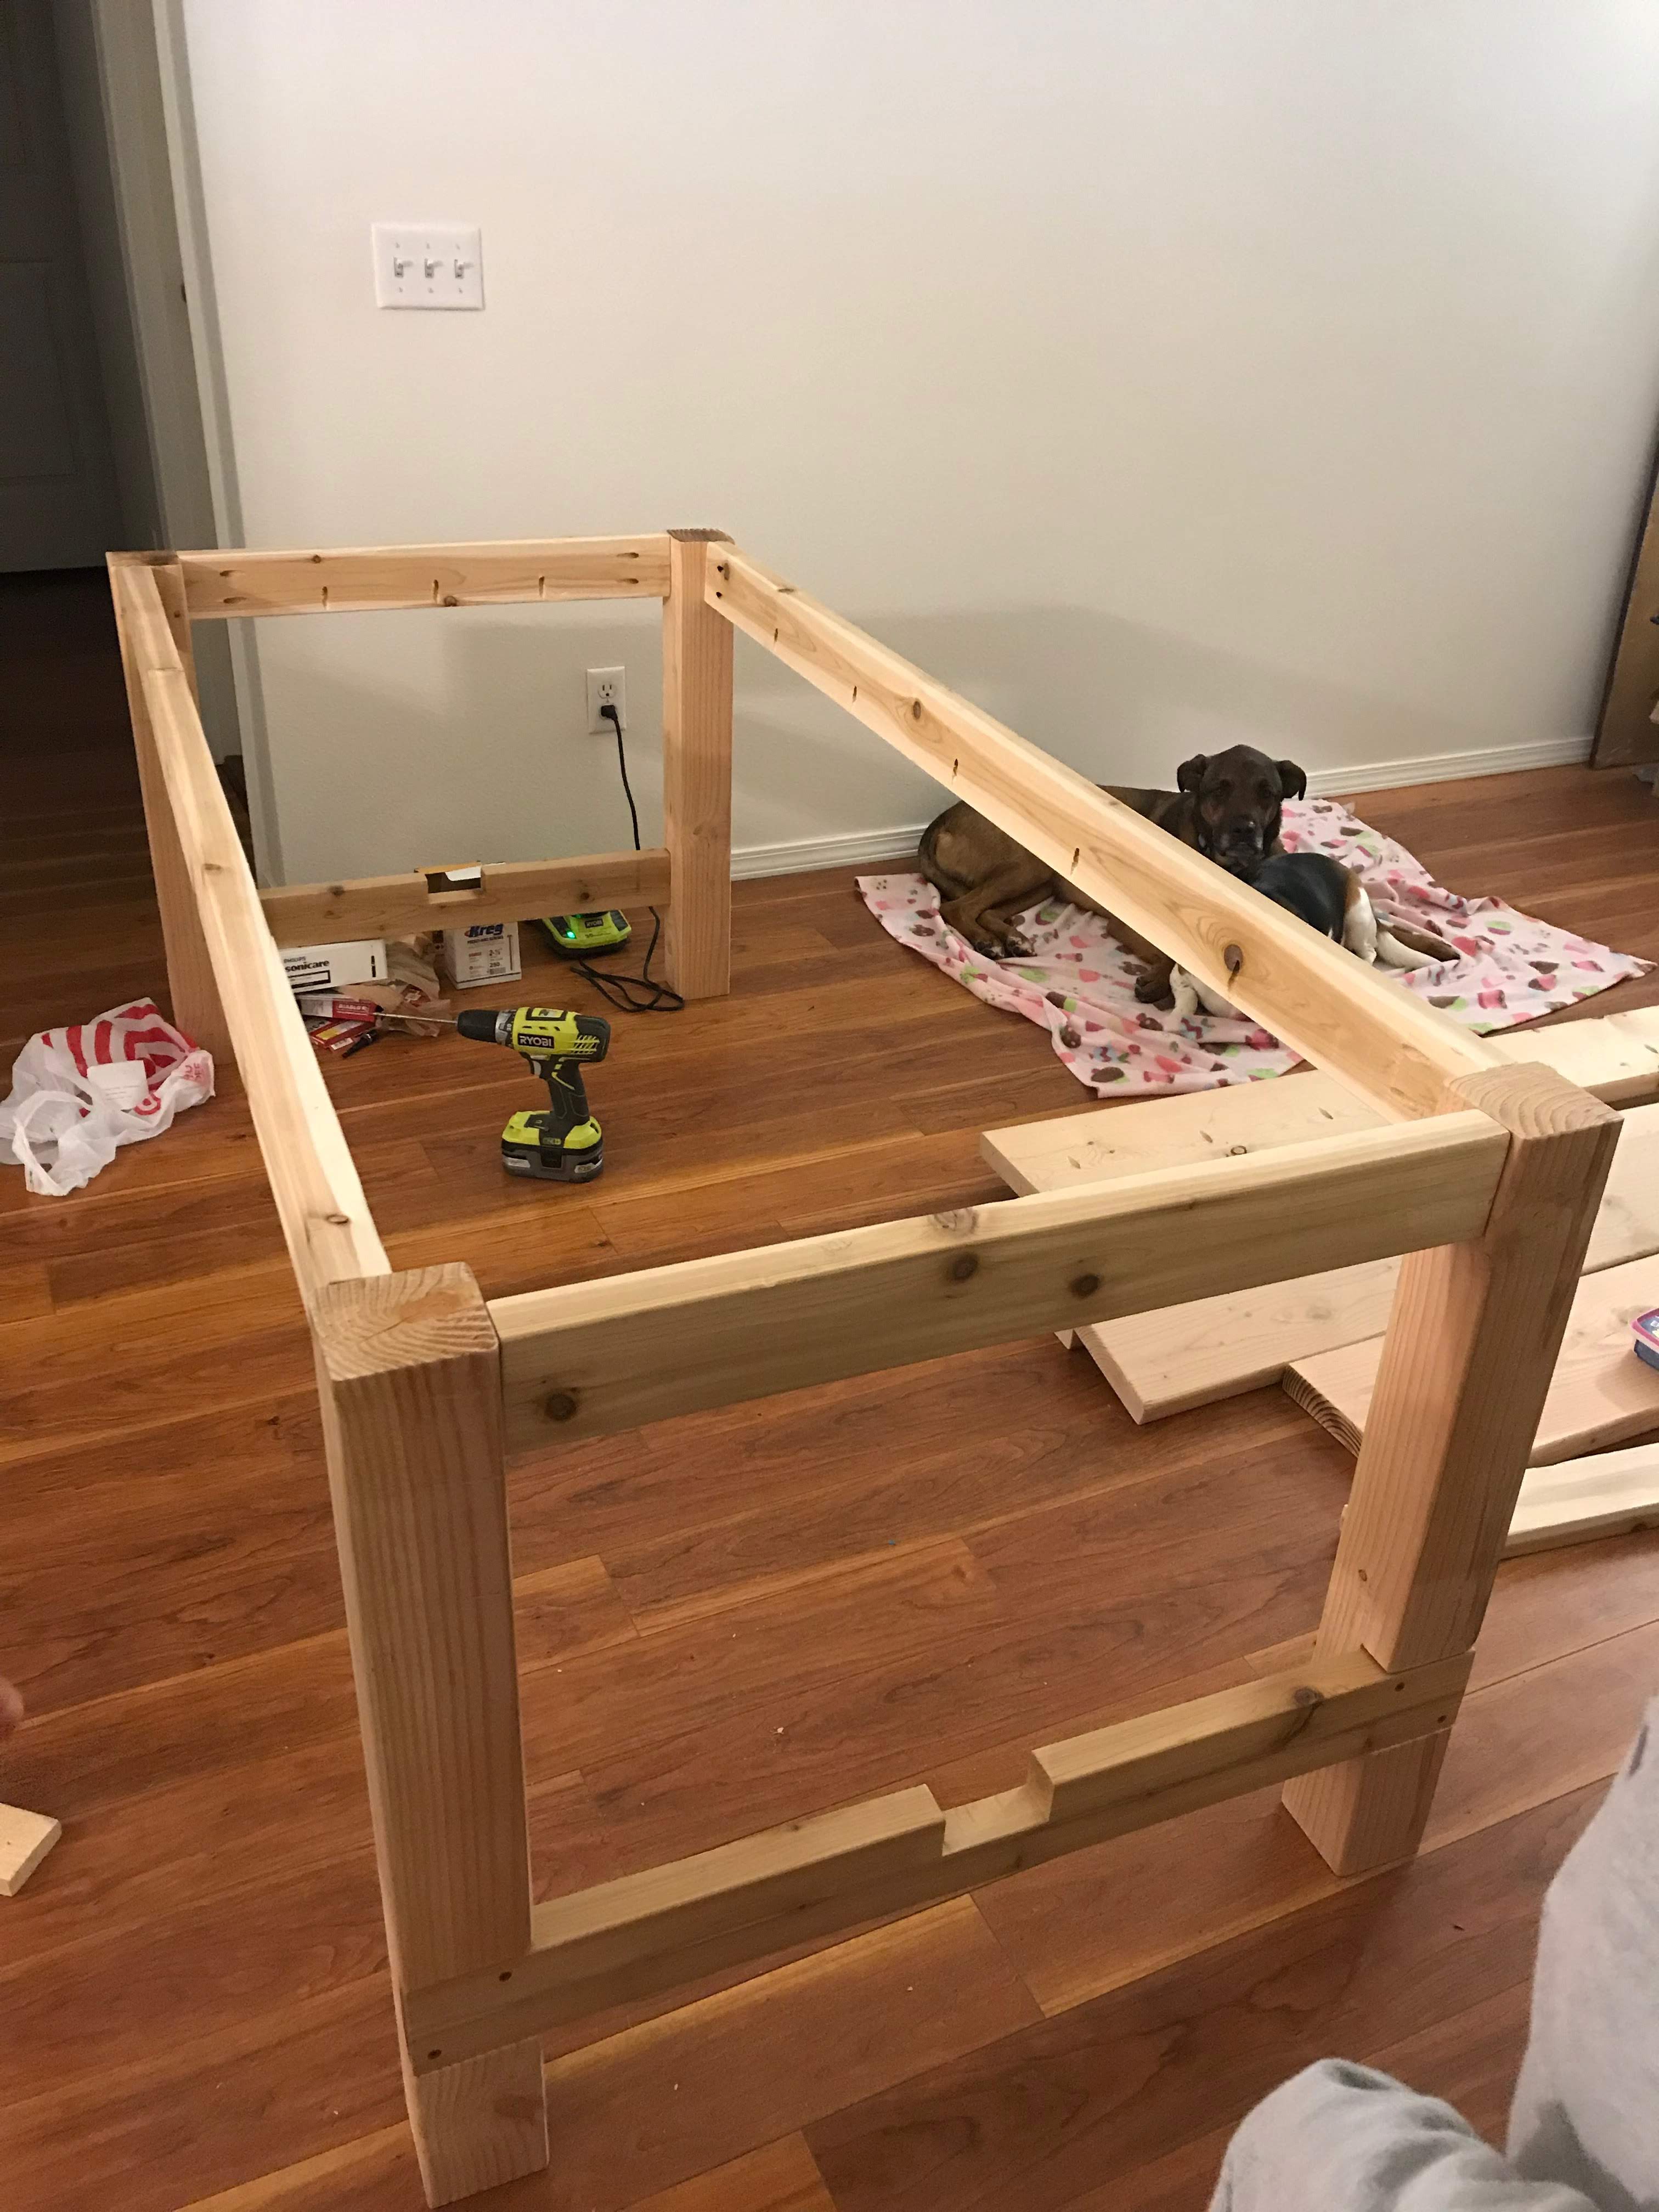
Enter husband and a hammer! Why buy….when he can build? We searched on Ana-White.com and picked our favorite farmhouse table. If you’ve ever been interested in building your own furniture and you haven’t visited her website, go there now. Her plans are free, wonderful and easy! All plans come with full material lists, measurements, and step-by-step instructions, simple and thorough for beginner builders to follow.
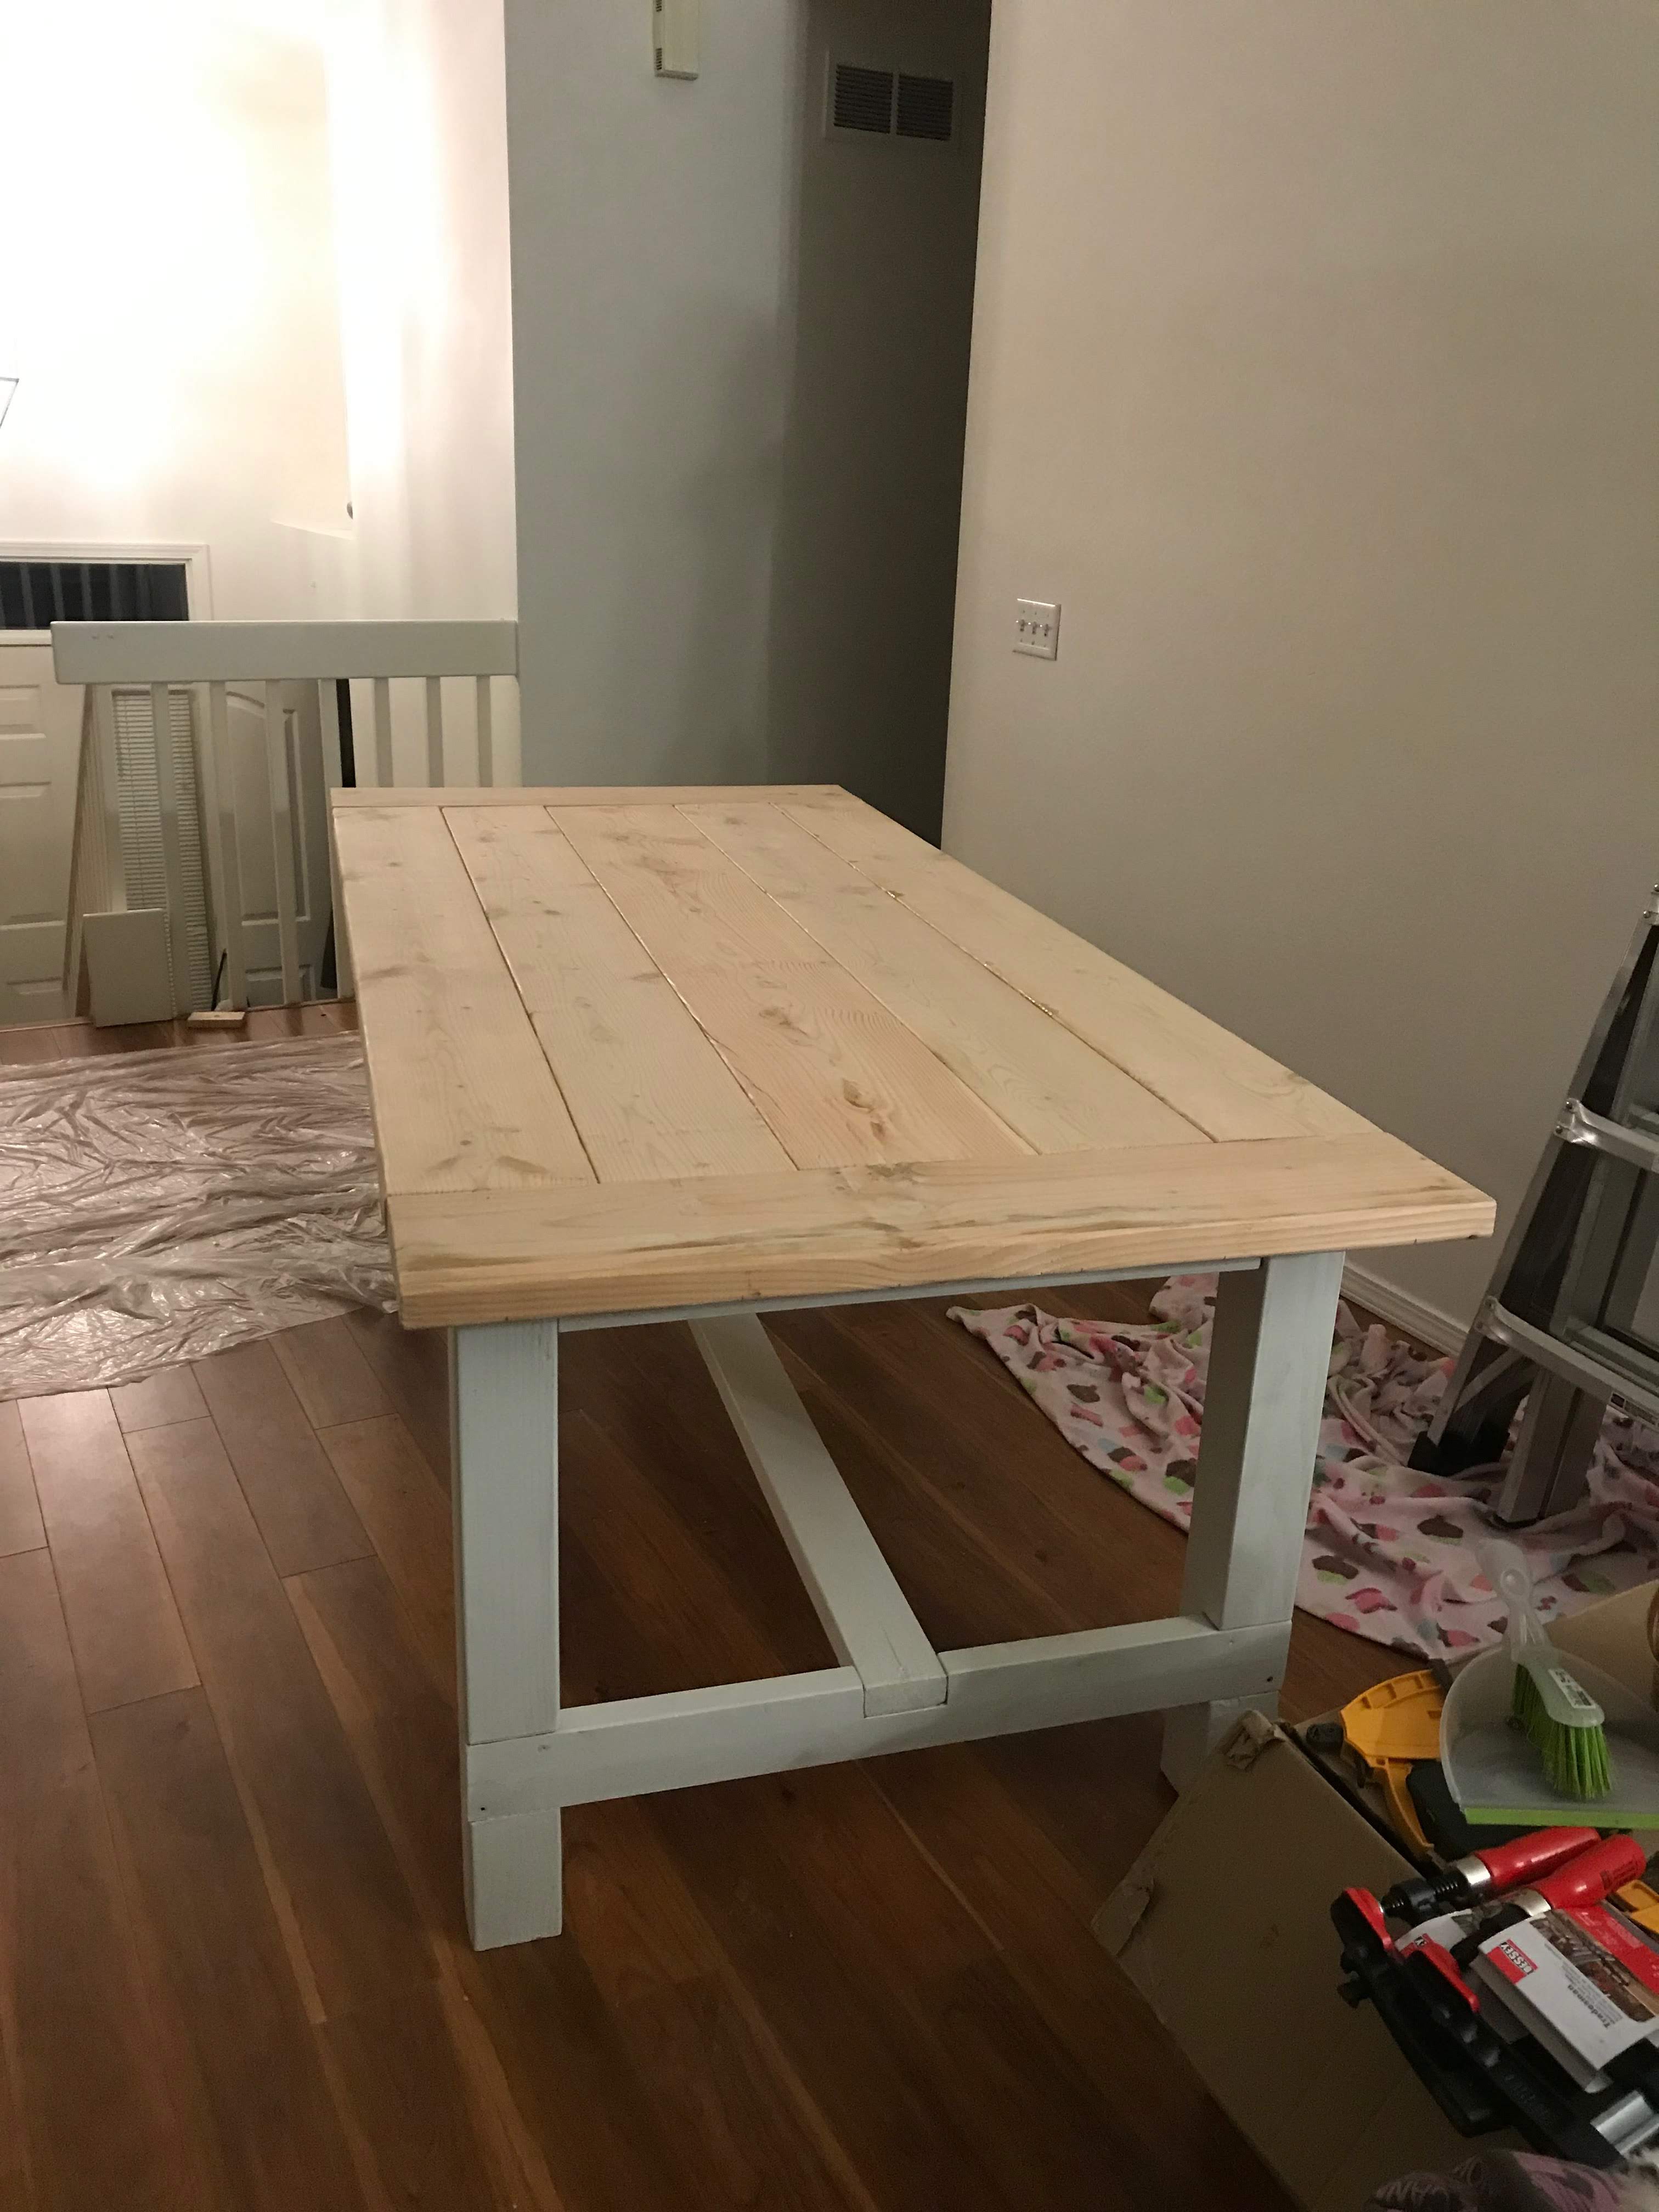
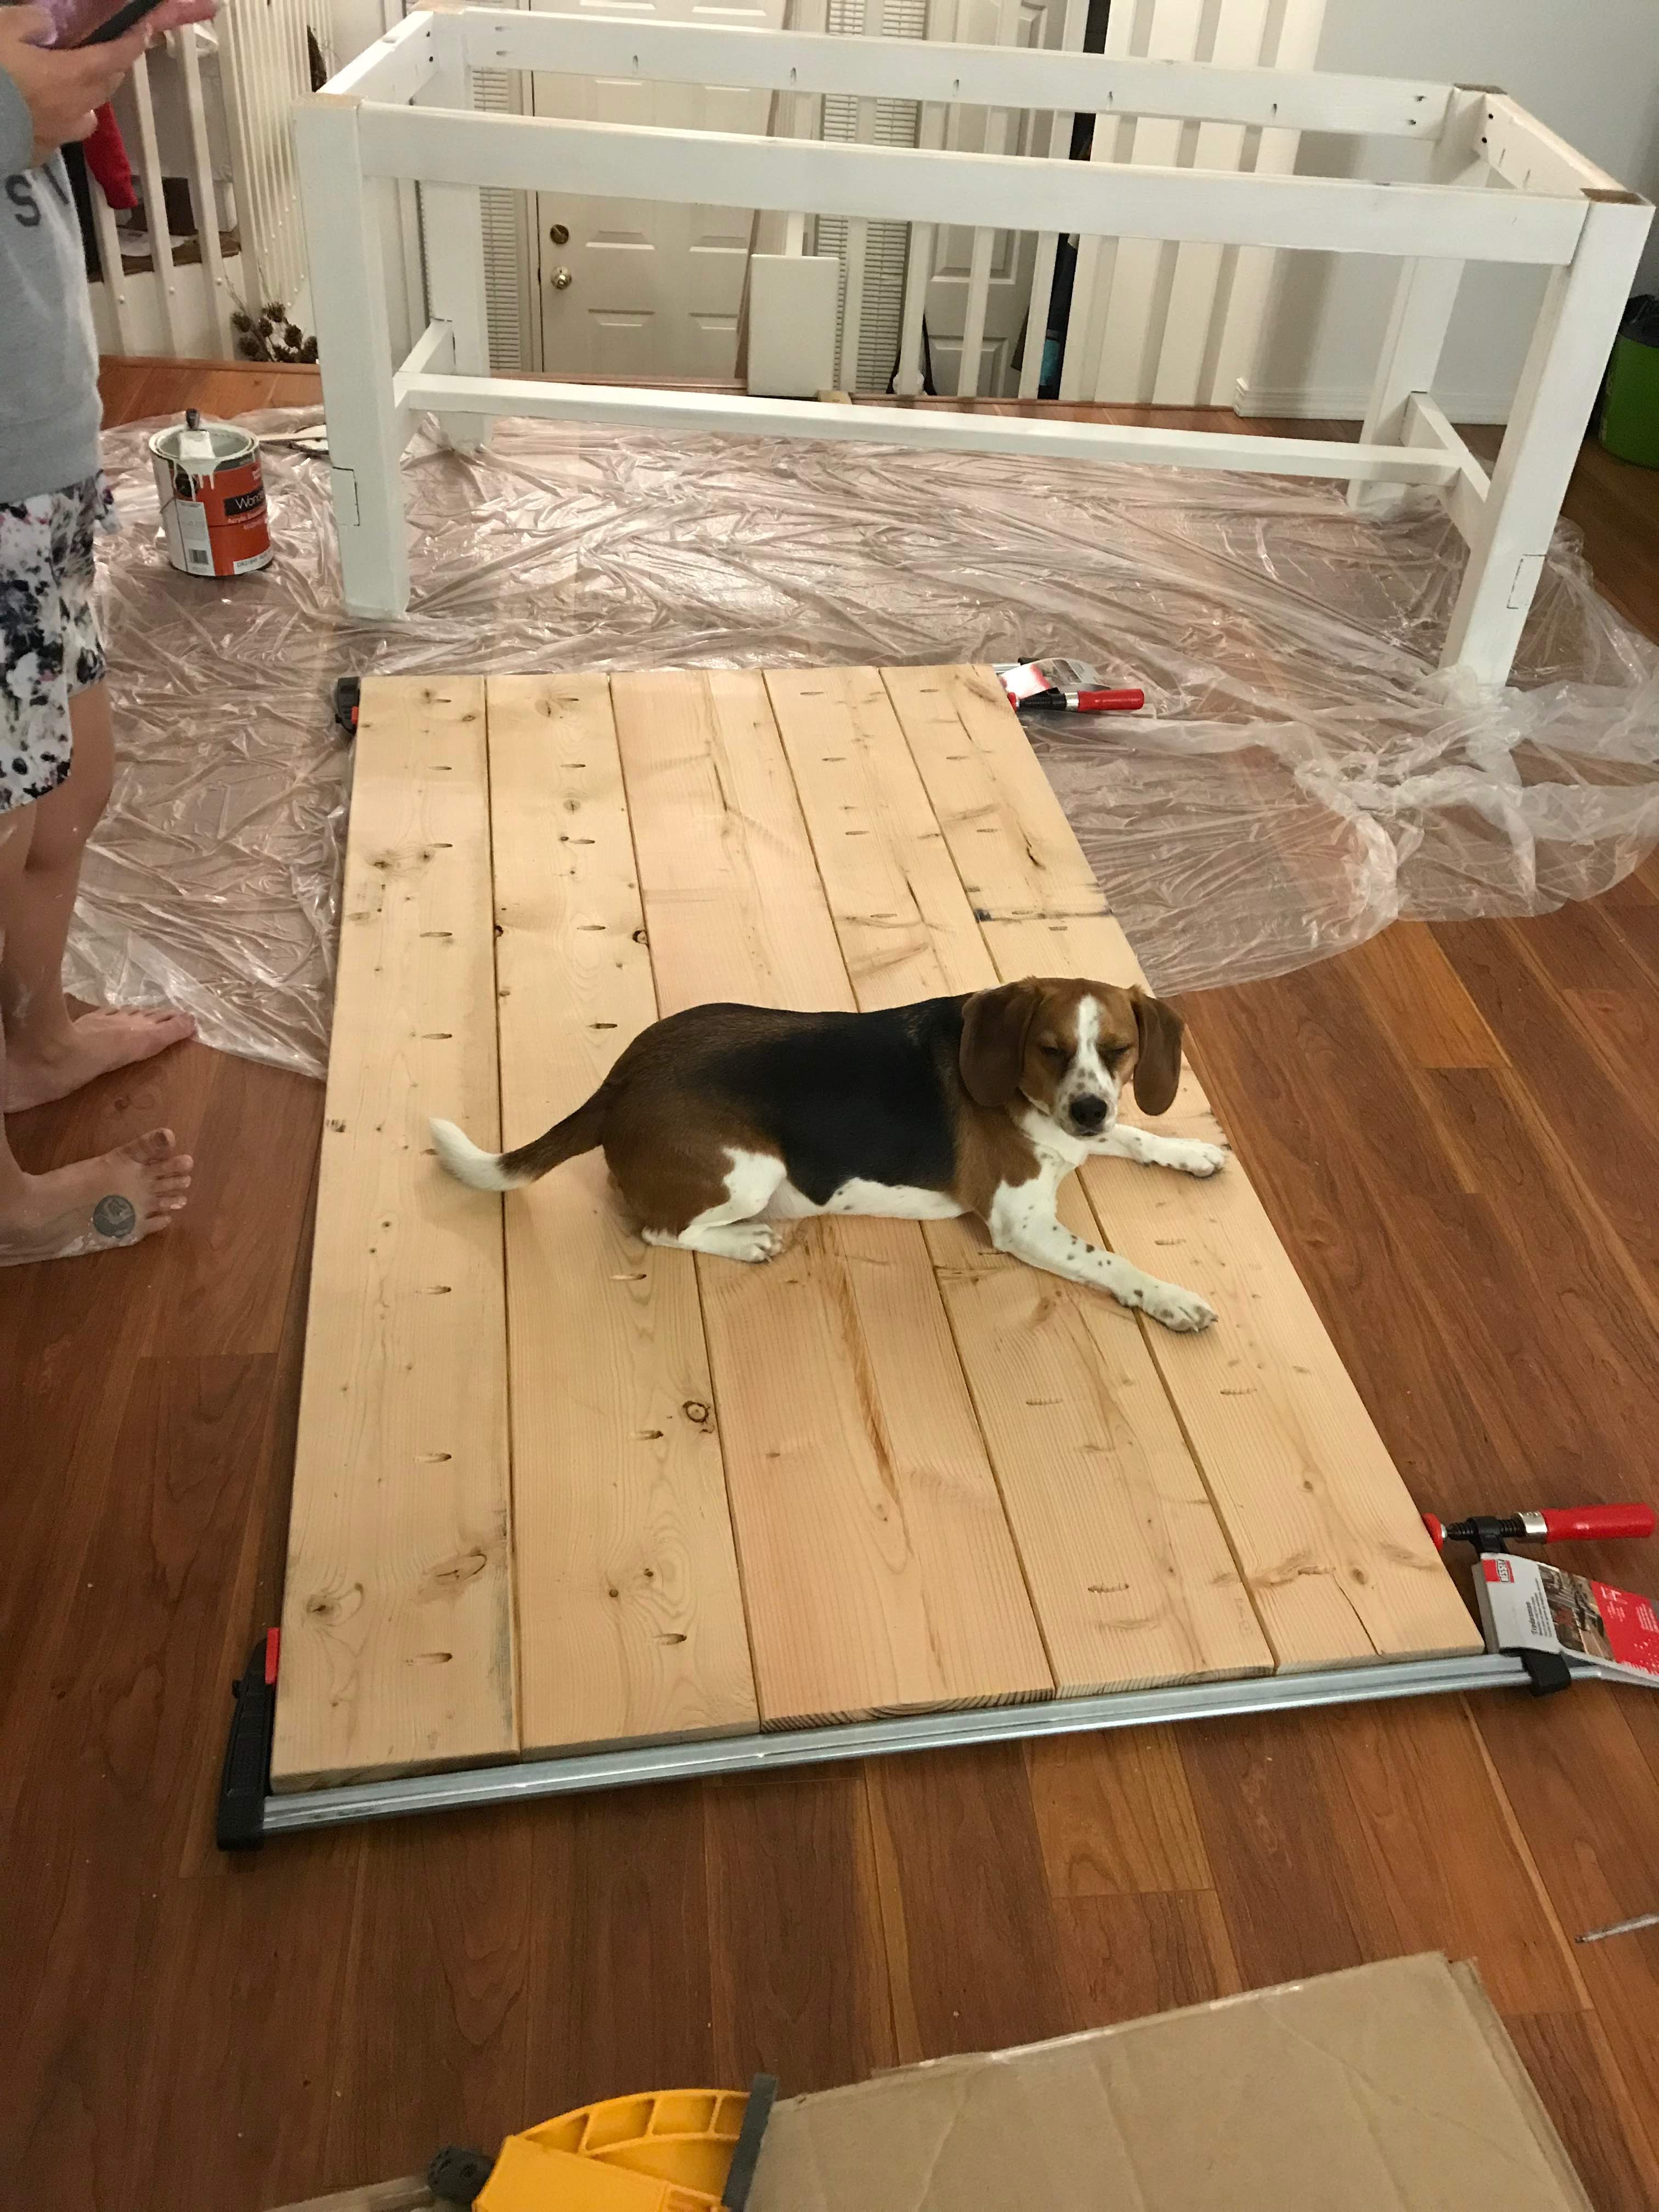
Below are some pictures of our building process. Of course, for our first build, it resulted in some flaws, but we couldn’t be more happier about it. I love that this table didn’t break the bank; I love it more because my husband and I built it together. This table is in for quite an adventure!
Love, Nori
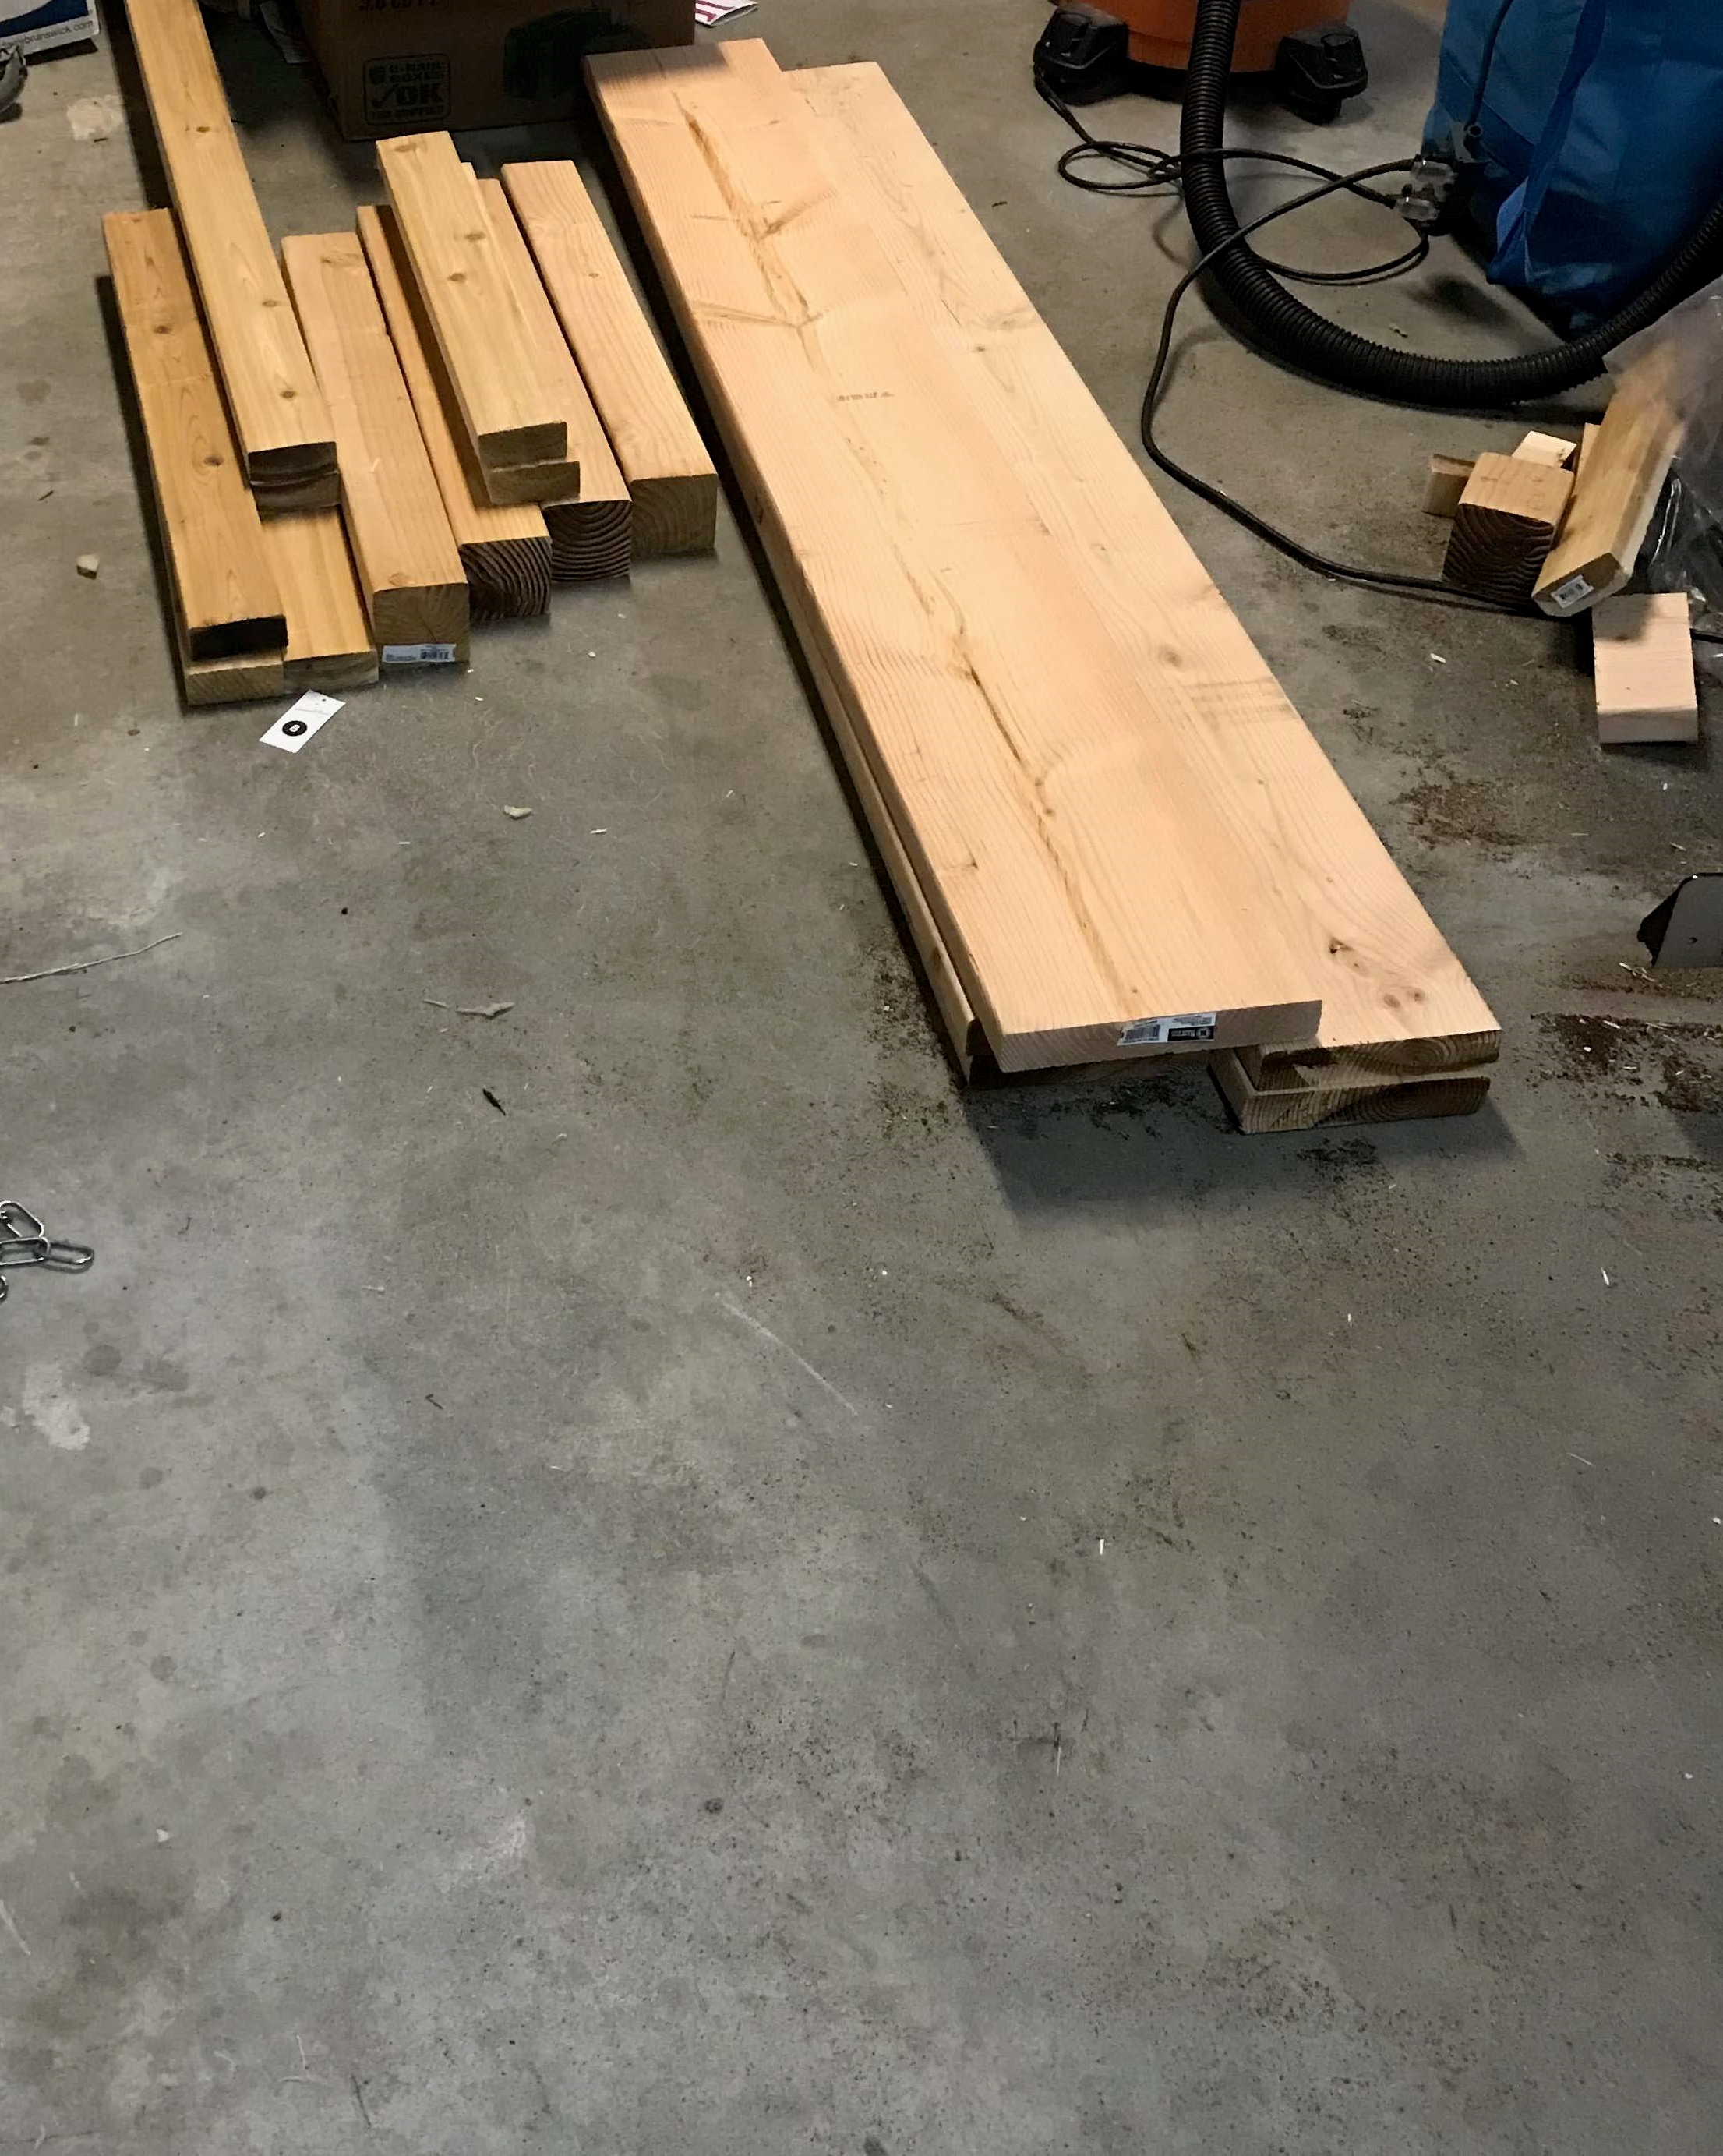
Lumber: $140.00 (Lowes)
Chairs: $125.00 (found from different craigslist sellers)
Paint: $19.99 per Qt. (BEHR Chalky finish paint)
Helpful tips from first timer builders:
Follow instructions – Don’t skip steps! My husband would NEVER, but I most definitely would and it probably isn’t a smart idea. I found myself asking, “is this part really necessary?” My bet is that if it made it to the instruction booklet, it probably is. LOL A lot of the plans we looked at are so thorough anyway, so follow them as closely as you can.
Borrow, don’t buy – If your garage isn’t stocked with the necessary tools, don’t go out and spend a couple hundred dollars for a tool you’ll only use once. Check to see if your local hardware store does tool rentals or simply tap in some friends to loan you tools they already have.
Choosing paint – The paint I used is a Chalky-finish paint, purchased at Home Depot. This is not the same thing as chalk paint. There are a plethora of brands out there so I did my research before I bought. The first brand I used was purchased at Target and the coverage and color selection was subpar compared to BEHR. Two coats was required for full coverage for the chairs, but sanding and/or deglossing was not required. You will also need to purchase a wax finish for sealing.
Cutting blades – Update or sharpen your blades. Dull blades lead to more wood burning and rough cuts.
Choosing planks – Try to avoid planks with bows in them. Before you buy, lay them on the floor to choose the flattest planks.
Use a planer – If you can get your hands on a planer, do it! This is a step we skipped simply because we don’t have one. The result of not using a planer is that our planks are not quite evenly flat, which resulted in noticeable spaces between planks. Though it is not the end of the world, picking out old food particles is not ideal.
